
 Posts
Posts


What better way than to papercraft? So I thought I would make some layouts about the current men in my life, today I am sharing with you one I made for my best friend and husband. The picture kind of symbolizes how we live, always doing everything as a team even when it would only really need one person to complete the task.
All the papers used are DCWV, the background page comes from Spring stack 2010. This blue and green are two of my absolute favorite colors so of course I wanted to use those, so I went with changing the photo up to black and white so it wouldn't compete with the colors from the layout.
I designed everything on DS and used the Baby Bug to cut it all out. The flowers range from Primas, to some from the $ Store, to the large green one being part of a cheap lei I had around. The gemstones are from Recollections.
I started with my title, I had the Cricut vinyl in my favorite colors and used this for the title since the cuts were so fine and they really do come out better in vinyl than paper. I wanted them welded together for easier flow and also placing them on the page. However with no "auto shadow" available to me I had to first do the saying in regular script, then weld, then I used the shadow feature and lined it up on top of the regular font to make sure the spacing was spot on, then welded the shadow. I have added a screen shot to show how I did this. I used JASMINE at one inch for the title and shadow.


and finally onto the background paper itself

The hummingbird in the upper left corner is cut from PAGODA at 3 inches and to me it symbolized how with Craig love and our relationship I felt like I could still flap "my wings" and also be able to stay in a safe "place" at the same time.

The cage in the lower left is also another symbol of my "freedom and safety" with Craig. You will notice there is NO door on the cage, I am free to come and go as I please, yet it is always there waiting with open doors (aka arms) for me. This was cut from FRENCH MANOR at 3.25 inches twice, once in white vinyl with the contours hidden and once from blue cardstock. I only glued down the 3 horizontal lines so that the others would cast a bit of a shadow for some depth.

I cut the leaves from STRAIGHT FROM THE NEST and hid the contours as they were from a vine type thing and it had no shadow. And the finished layout with everything glued down into place. I used Beacon's 3 n 1 on everything as it does have some wonderful staying power.

Below is a list of the bloggers taking part of the hop, if at anytime you get lost along the way, just click on the blog button (which will be appearing later) to bring you back to here and you can find your way back to where you were headed :)
Me <------------------you are here
Roberta http://somethingformee.blogspot.com/
Liza http://www.hooscrafty.blogspot.com/
Vicky http://sassysscrapinblogin.blogspot.com/
Kymberlee http://papermidwife.blogspot.com/
Sue http://www.lifesgr8whnbugged.blogspot.com/
Bobbi Jo http://sweetsassydiva-gspot.blogspot.com/
Michelle http://paperaffair.blogspot.com/
Sara http://www.snugasabugdesigns.blogspot.com/
Misty http://www.abusyplace.blogspot.com/
Kate http://www.sassyandscrappykate.blogspot.com/
Liz http://liz-lavendarandroses.blogspot.com/
Laura http://lauras--piece--of--paradise.blogspot.com/
Michele http://greengirlscraps.blogspot.com/
Shawn http://shawnsfiresidecraftingroom.blogspot.com/
Mary http://www.marebearscraps.blogspot.com/
Cindy http://www.scrap-obsessed.blogspot.com/
I will be choosing a random winner from comments left here on this post on Monday afternoon for a $25.00 Joann gift card, so please make sure that leave a way for me to contact you.
Thanks for hopping with us. Remember to tell that special someone that you love them today.


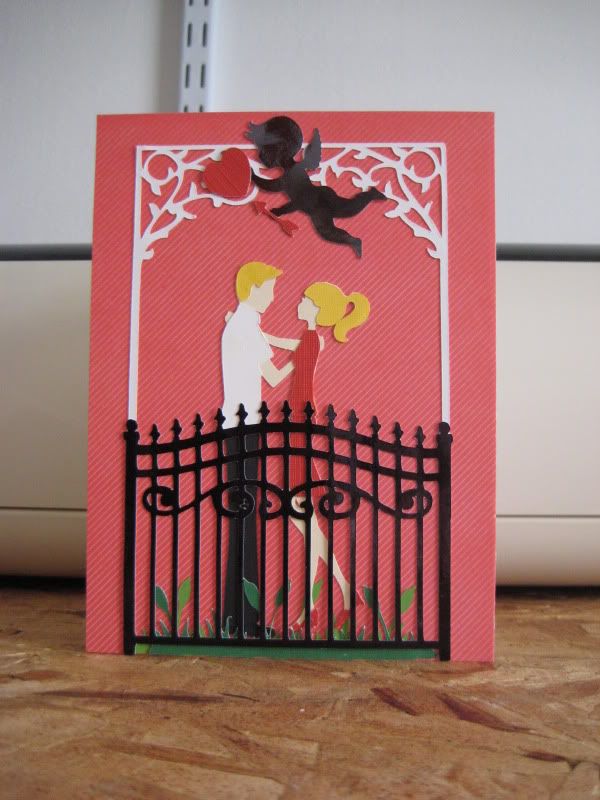


 yes I feel in love with this little lady as soon as I heard all that she was and will become. So I just had to try to use her to see if I could design a picture of her.


 This is one of my favorite layouts of Trenton, being all boy. I used Base Camp for the lettering and Plantin Schoolbook for the stars using the centerpoint feature. The journal tag behind the large photo also contains another photo that I just couldn't decide if I wanted on the layout or not, but to me it was too precious not to have on there somewhere.


